For those who've done the GZE swap, that's supercharge engine in 4A talk, know that swapping the
alternator to the other side is a necessity. Originally the alternator was located on the passenger side (referring to
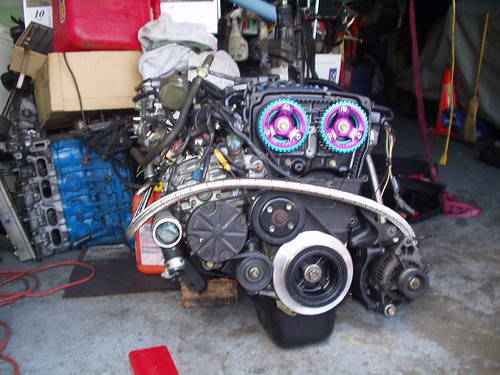
left hand drive cars). But since the supercharger (like the one posted in the above pic) is planted there, the alternator needs to move to the other side. One thing i've noticed is the way people wire their setups. The ones i've seen have always extend the exisiting
wires. Which looks awfully cluttered. But there is another way, though a bit more work is involved, it's much nicer. And you know were all about nice.
Since I had the
clone trooper at my disposal, one of the things it needed was a rewire of the alternator. Above we have the wires extended so it can reach the new location of the alternator. I could have probably left well enough alone, but I just found it quite annoying and needed to do some thing about it. It's extended about 3-4 feet for each wire. There are 5 wires that need to cross to the other side. Hmm that's quite a bit that isn't really necessary. So let's go fix that.
 |
| Another view of the wire extension. |
First you'll need to do alot of unwrapping of the original
wire harness. Starting at the alternator, make a brief stop where the harness splits towards the front of the car and into the fender.
This is where you'll need to tie these wires (the 2 white large gauge) together. The left goes towards
junction block 4 (behind the right kick panel) and the other will be heading to the battery.
Soldering works best. But if your
soldering iron is acting up again, just use a butt connector.
Once that mission is complete, begin removing part of the harness that's under the radiator support. This part requires unwrapping the harness (again) and remove the 3 wires (blue, black & white) that plugged into the rear of the alternator. The wires can be uncovered to where the wires split up towards the fender and engine bay fuse box.
Now you've got alot of excess wire which must be trimmed to length. Solder/butt connect the alternator connector back together. Cover it all the wires up and connect to your alternator. Now you're almost done. Don't forget to about the harness that you just unwrapped, re wrap and tuck
back into it's rightful place. So it looks like it's never been
touched.
Now that we have extra wire from our earlier trimming spree.
One more wire is required to connect the alternator to the battery.
Pretty simple and straight forward don't you think?? Best of all you wouldn't need all that extra wire cause everything needed in this procedure is either trimmed or reused. Gotta love saving a couple of bucks.


No comments:
Post a Comment